
Yes, I finally broke down and bought one. I’ve been changing my own tires for several years now. I spent the majority of my life working in and managing automotive repair and tire shops. So, while I was working, I could always just use the tire machines we had in the shop. After I retired from working in shops, I could still go use them if I wanted to, as long as they weren’t to busy and the machines where free. However, over time the people I had worked with all left or retired too, and the last shop I worked at is even closed now. For the last two years I’ve been changing them by hand. I bought the NoMar tire irons and rim protectors,
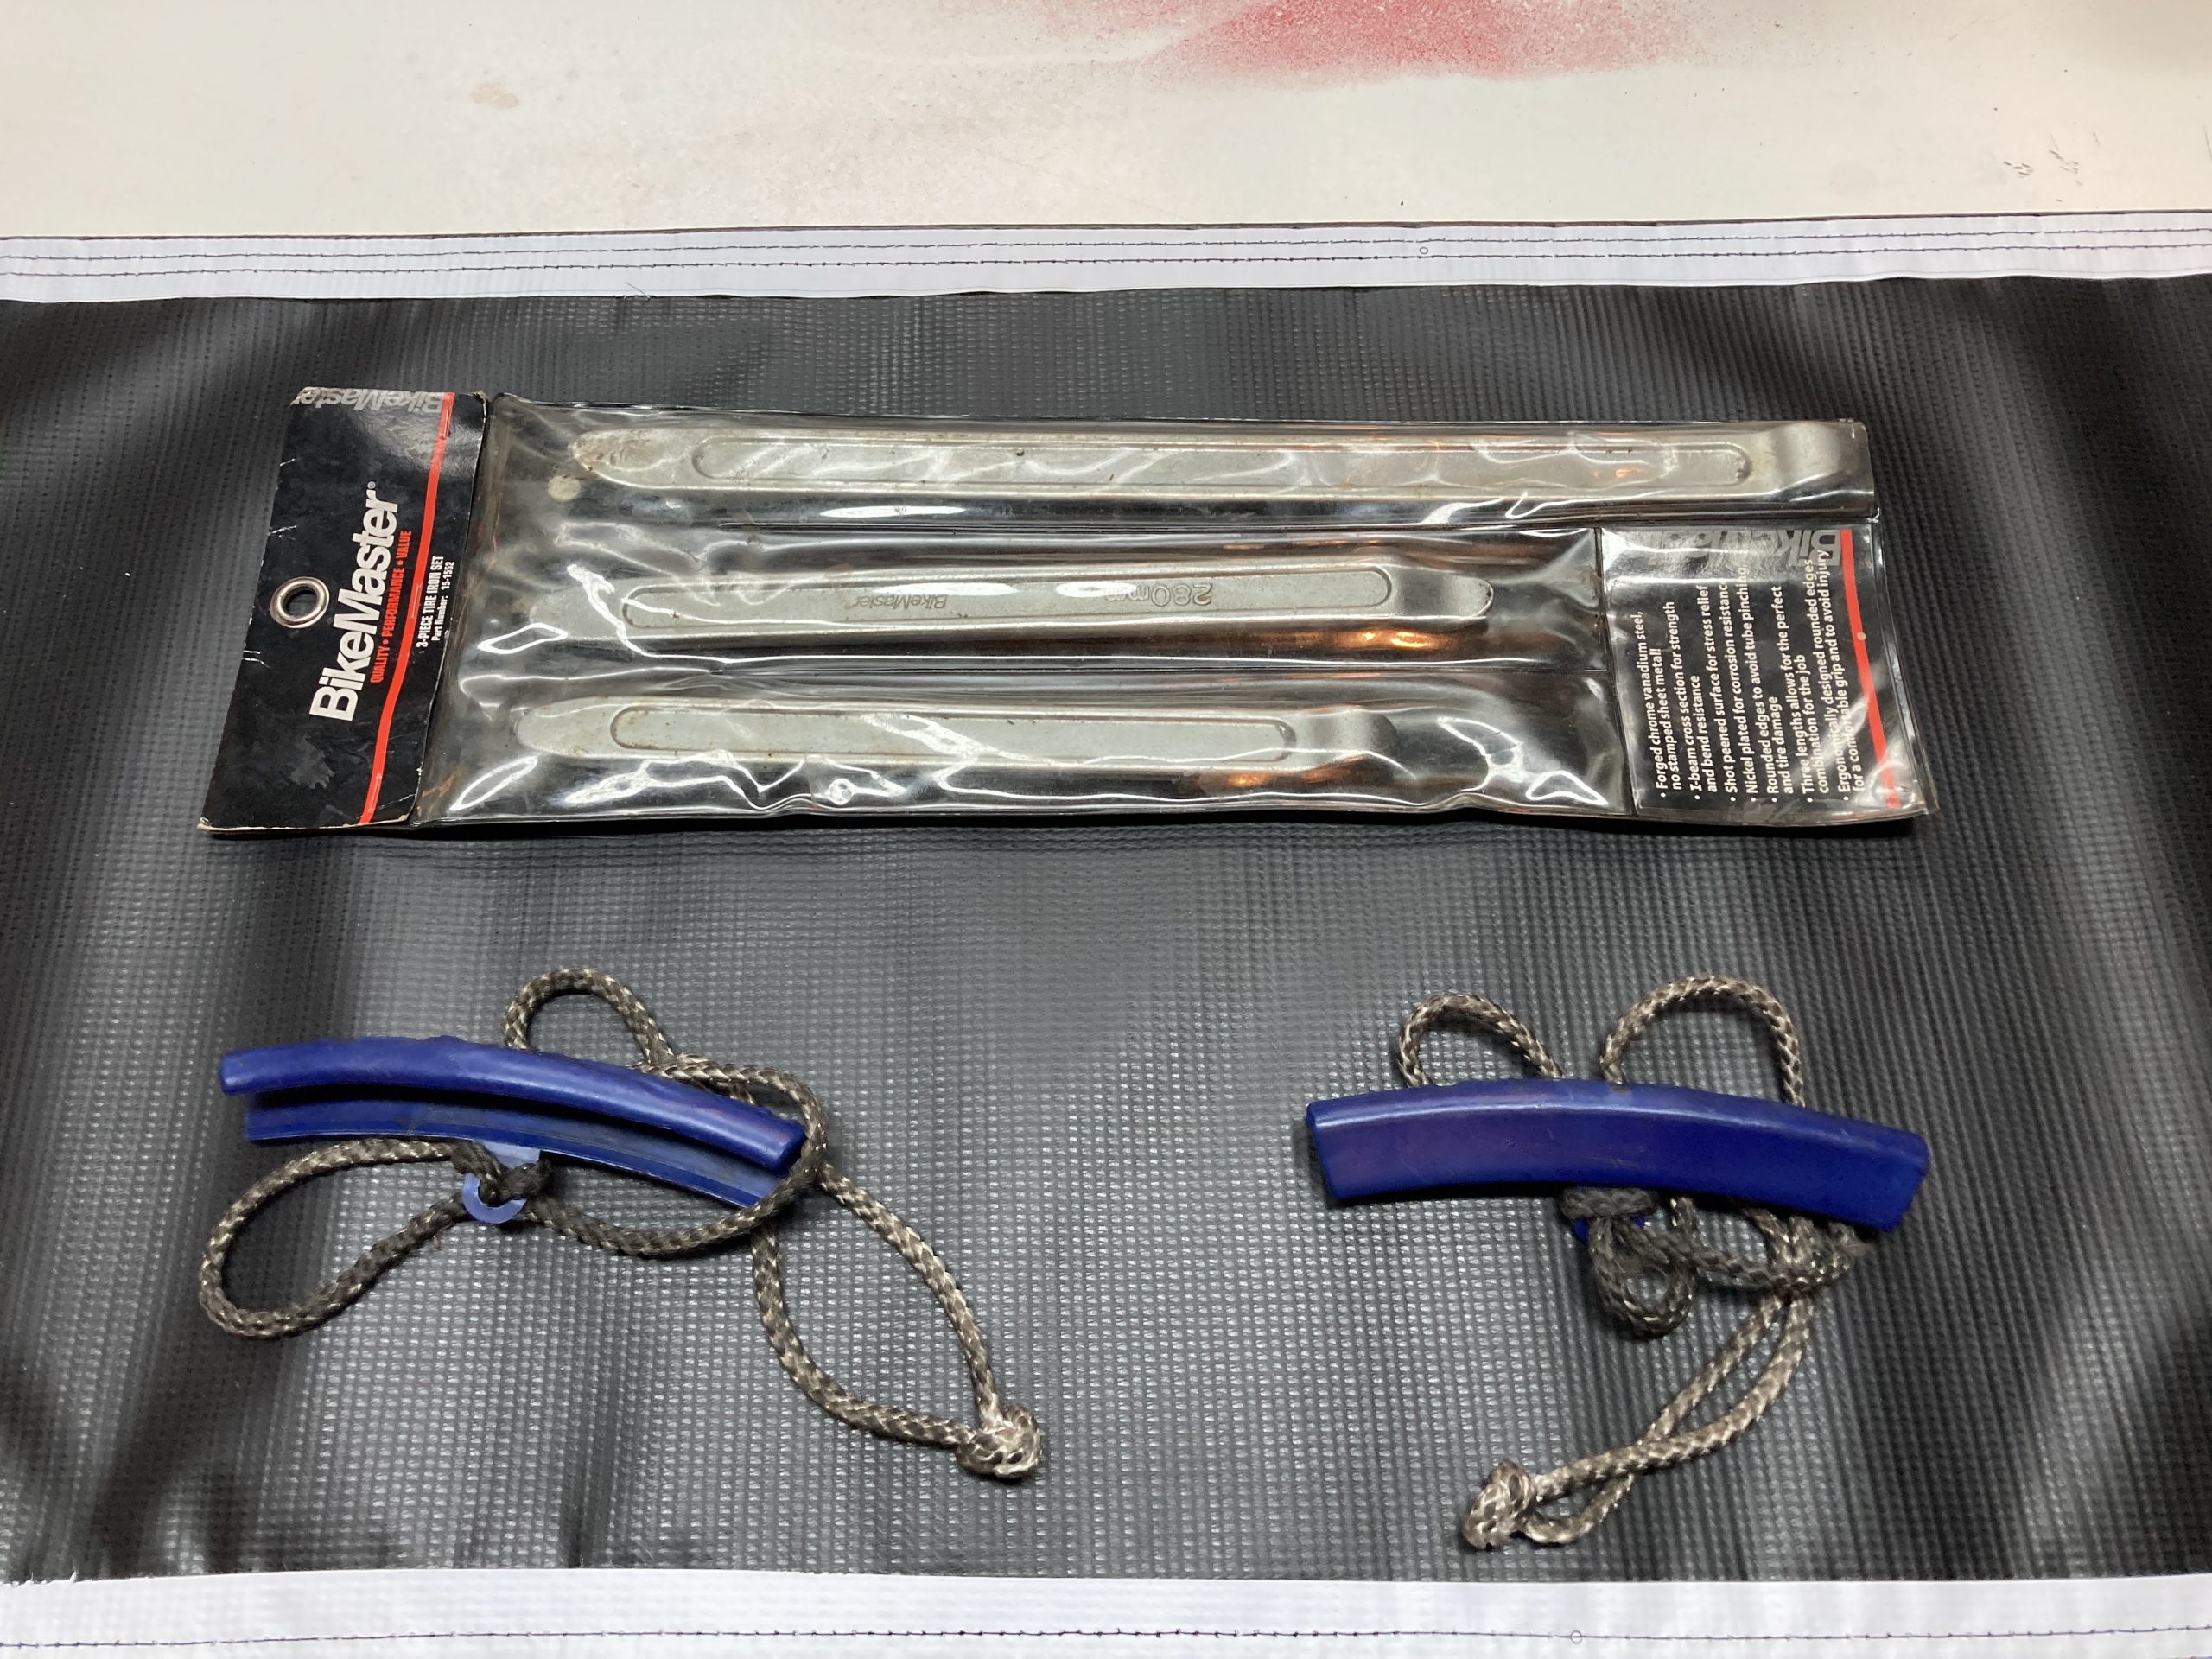
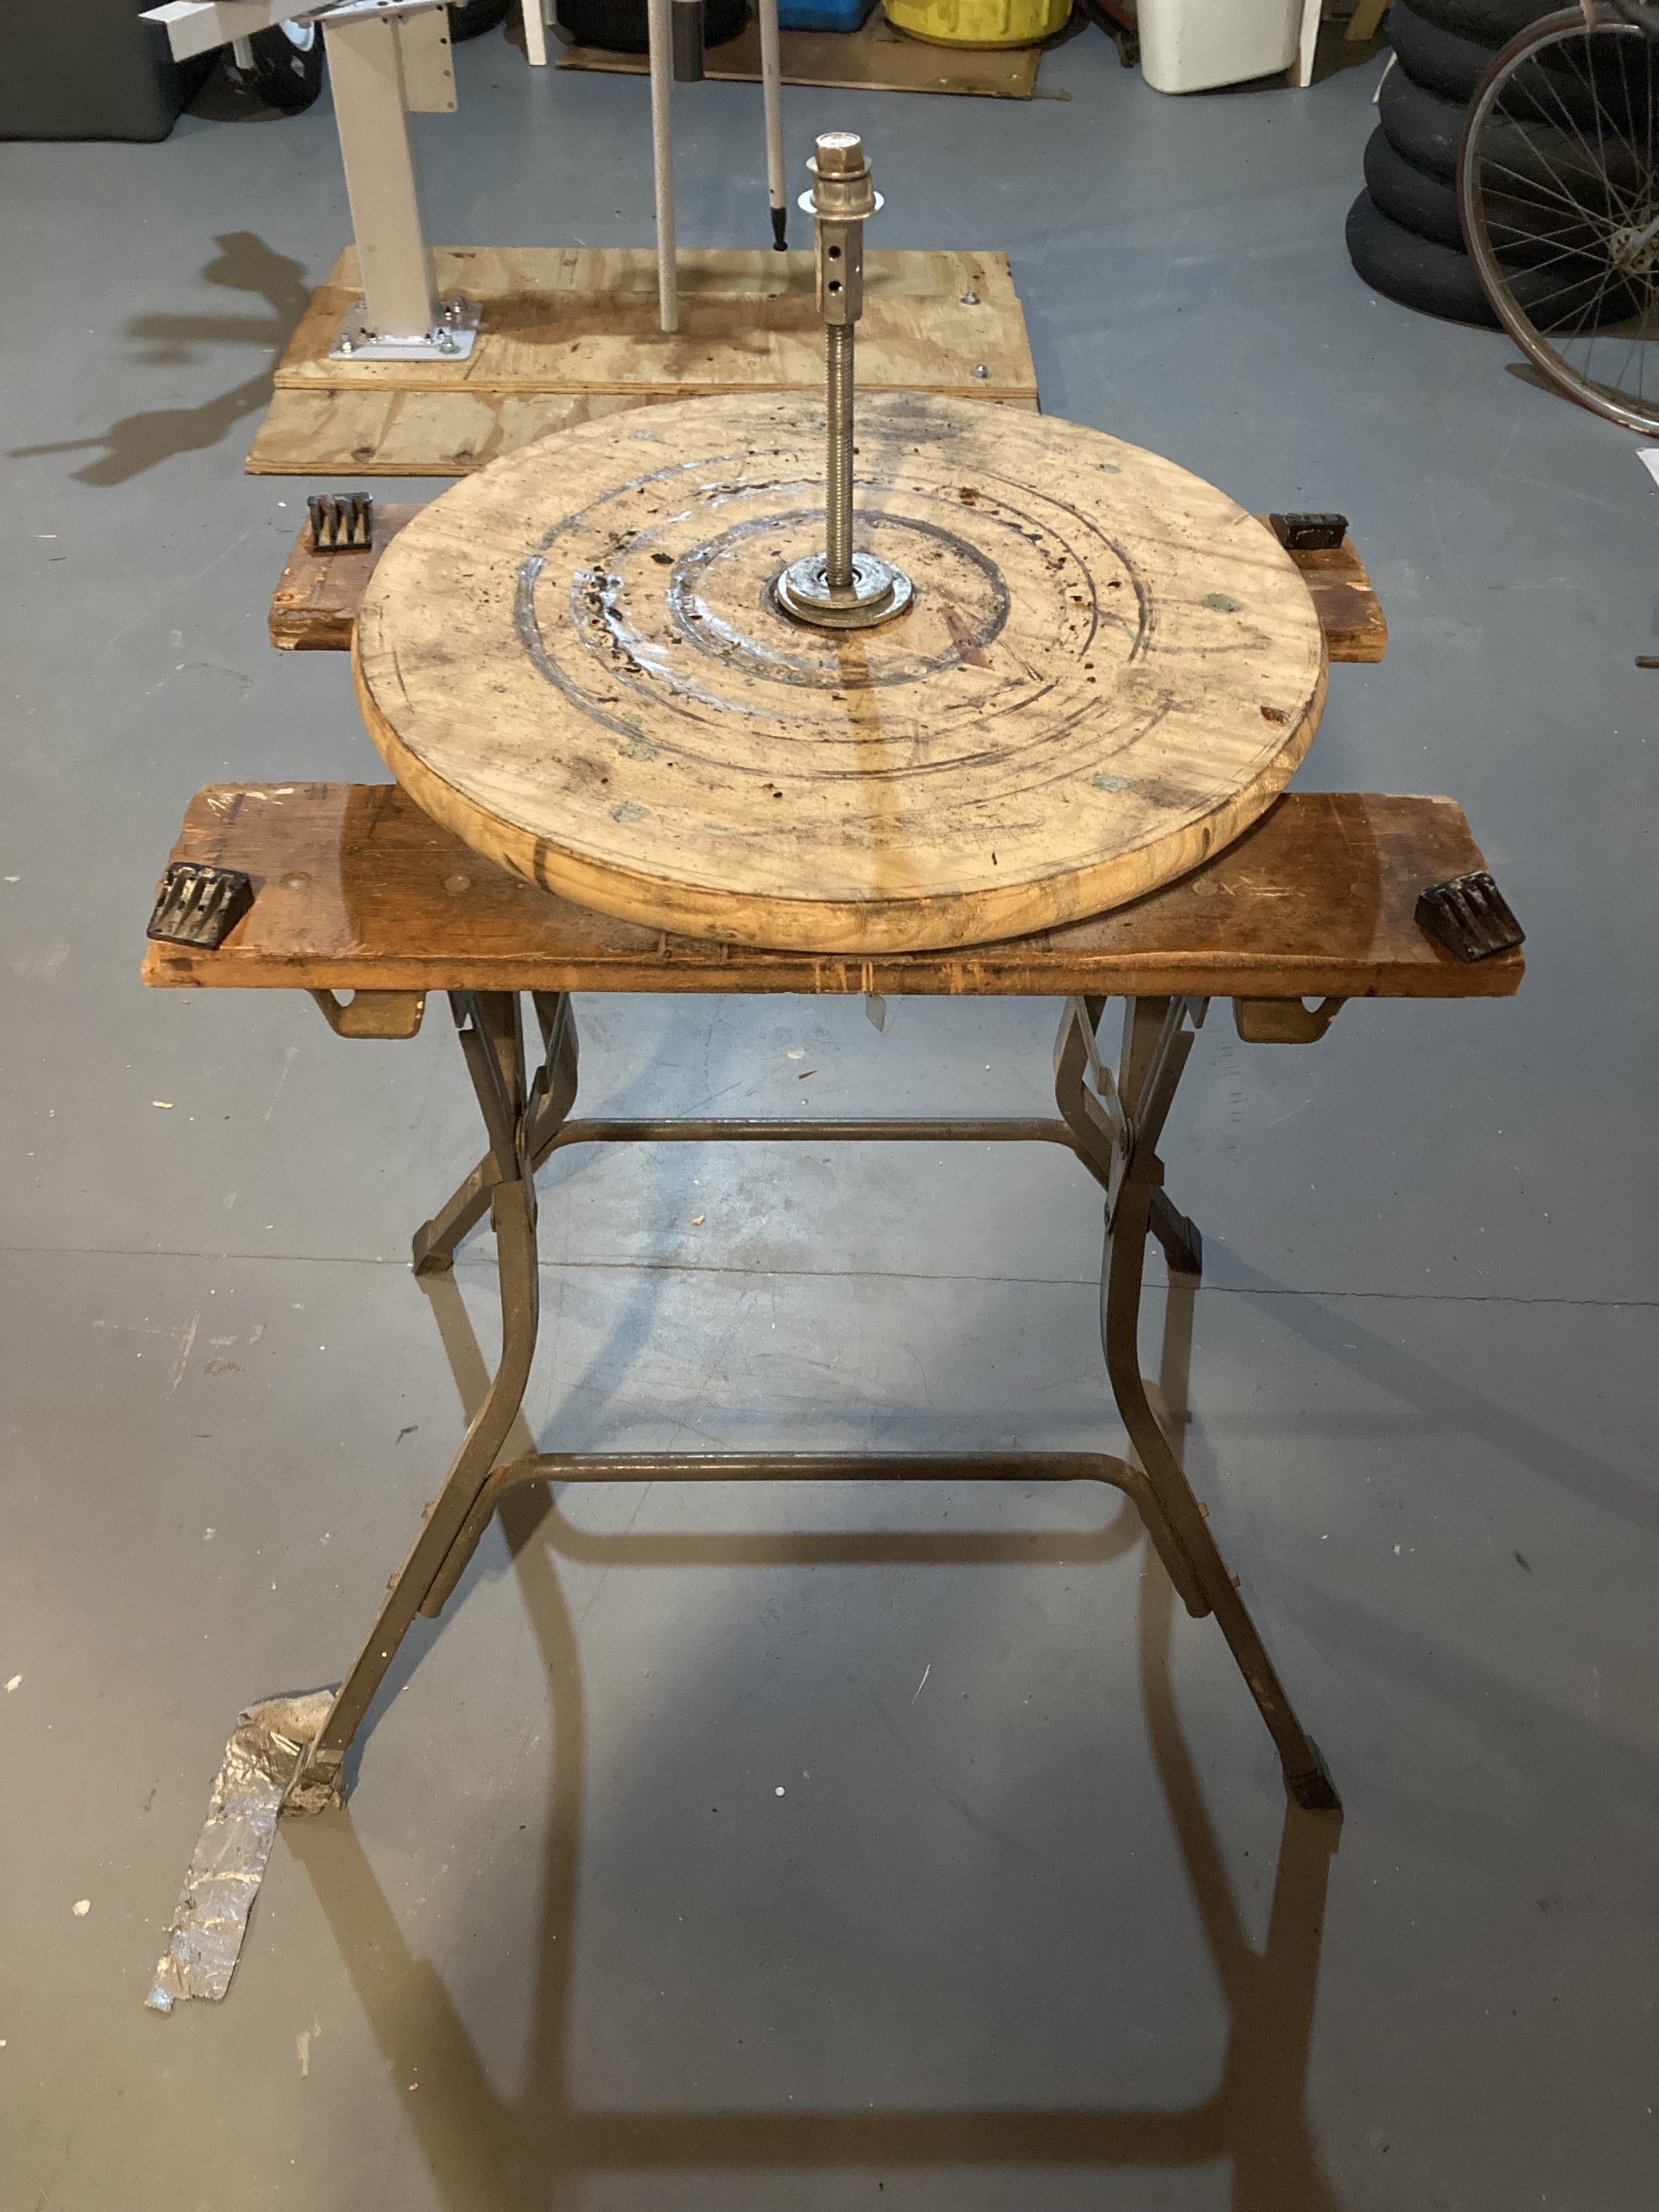
and even built my own stand from a Workmate, some wood I had around the shop, and a metal rod bought from Home Depot.
Using those tools, it would normally take me 4-5 hours to change out 2 tires, including the time to take the wheels and tires off the bike and reinstall them. Most of that time was changing the tires on the wheels, and there were far to many cases of nicks scratches to the wheels. As I go through 2-3 sets of tires every year on average, the time and effort has taken its toll. I decided that it was time to work smarter, and not harder. Why not take them to a shop you might ask? Let’s just leave that at I’m thrifty (some say I’m cheap) on not go any further. Anyway, after my last tire change, I decided that before I did any more of them that I was going to get myself a NoMar Tire Changer.
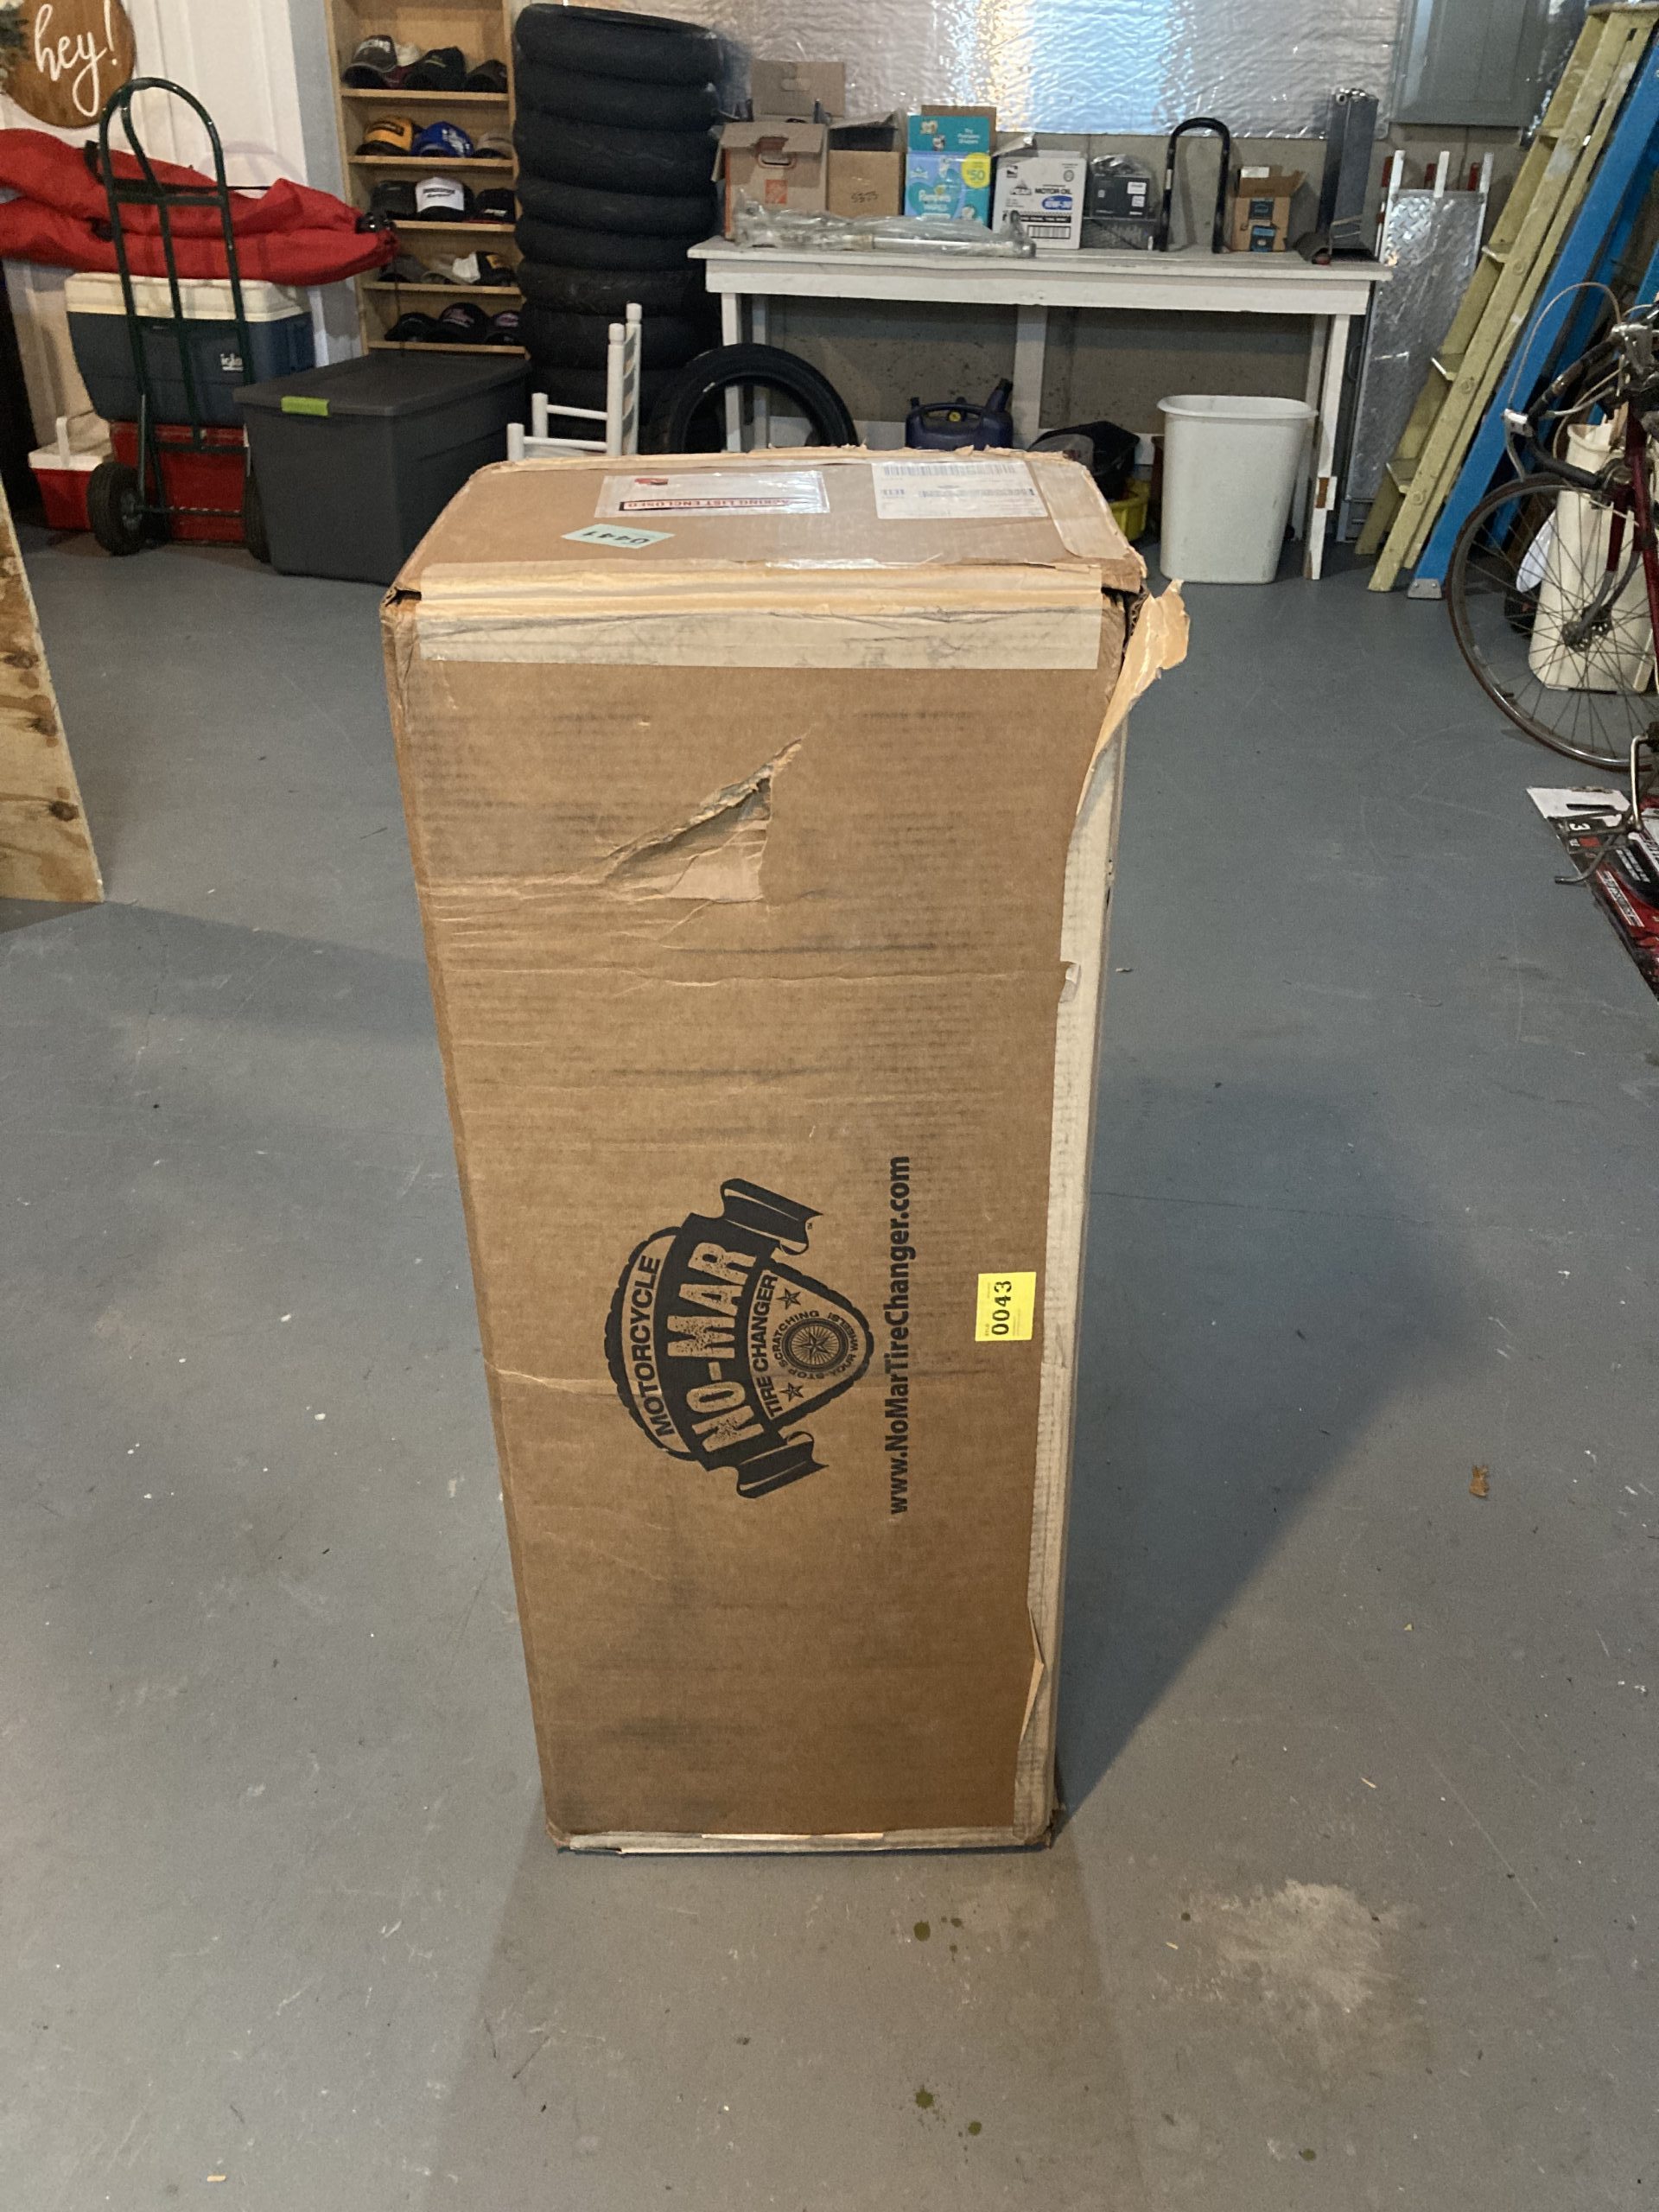
The process of getting a NoMar couldn’t be simpler. I went to their website, www.nomartirechanger.com and choose the item I wanted. I ordered the classic because I already had one of their balance stands. I already had their yellow thingy too, so I didn’t need to order one. BUT, if YOU order a tire changer from them, make sure you get the yellow thingy! You will need it! The box was at my door in two days.
Once I opened the big box, I found several smaller boxes inside.
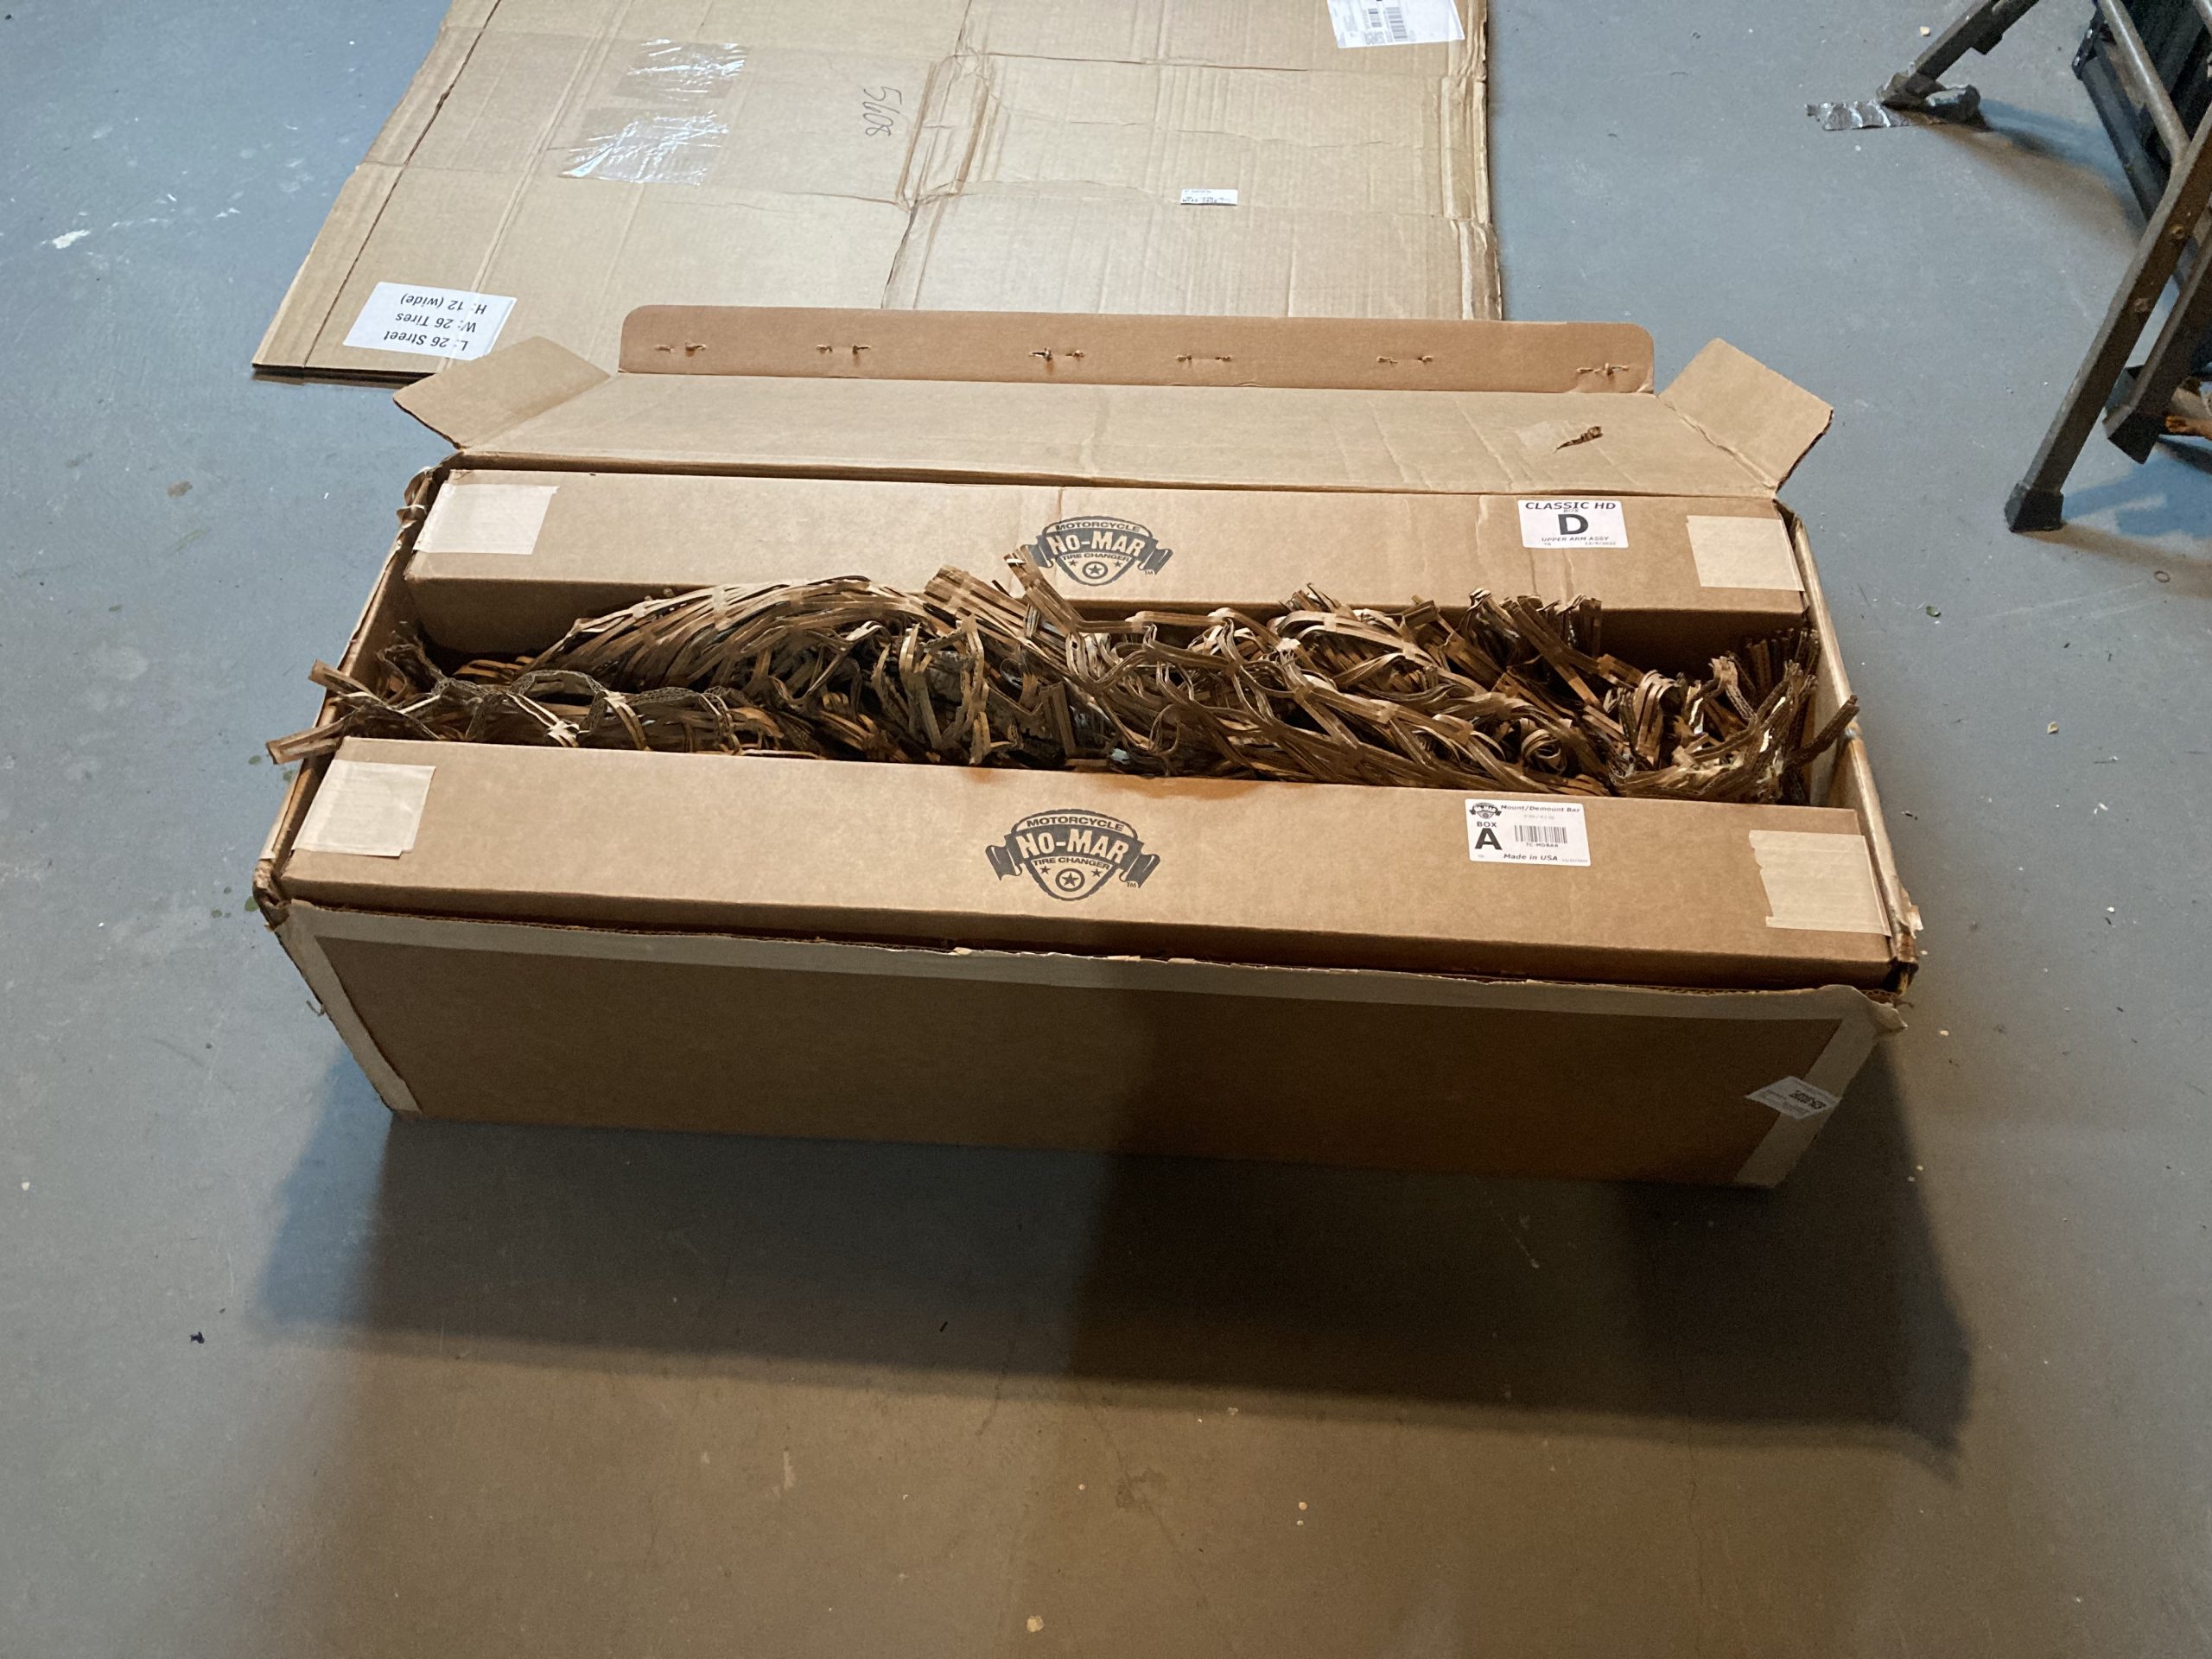
They carry all of the parts needed to assemble the unit. You will need a couple of wrenches, but it does come with the allen wrenches you need, along with an assembly guide.
At this point I highly recommend going to YouTube and checking out videos that Steve has put together about how to assemble the unit. They are a little old, and some things have changed on the new units, but they are still very helpful. The included assembly instructions are not very easy to follow as they have no pictures. Here’s one of them:
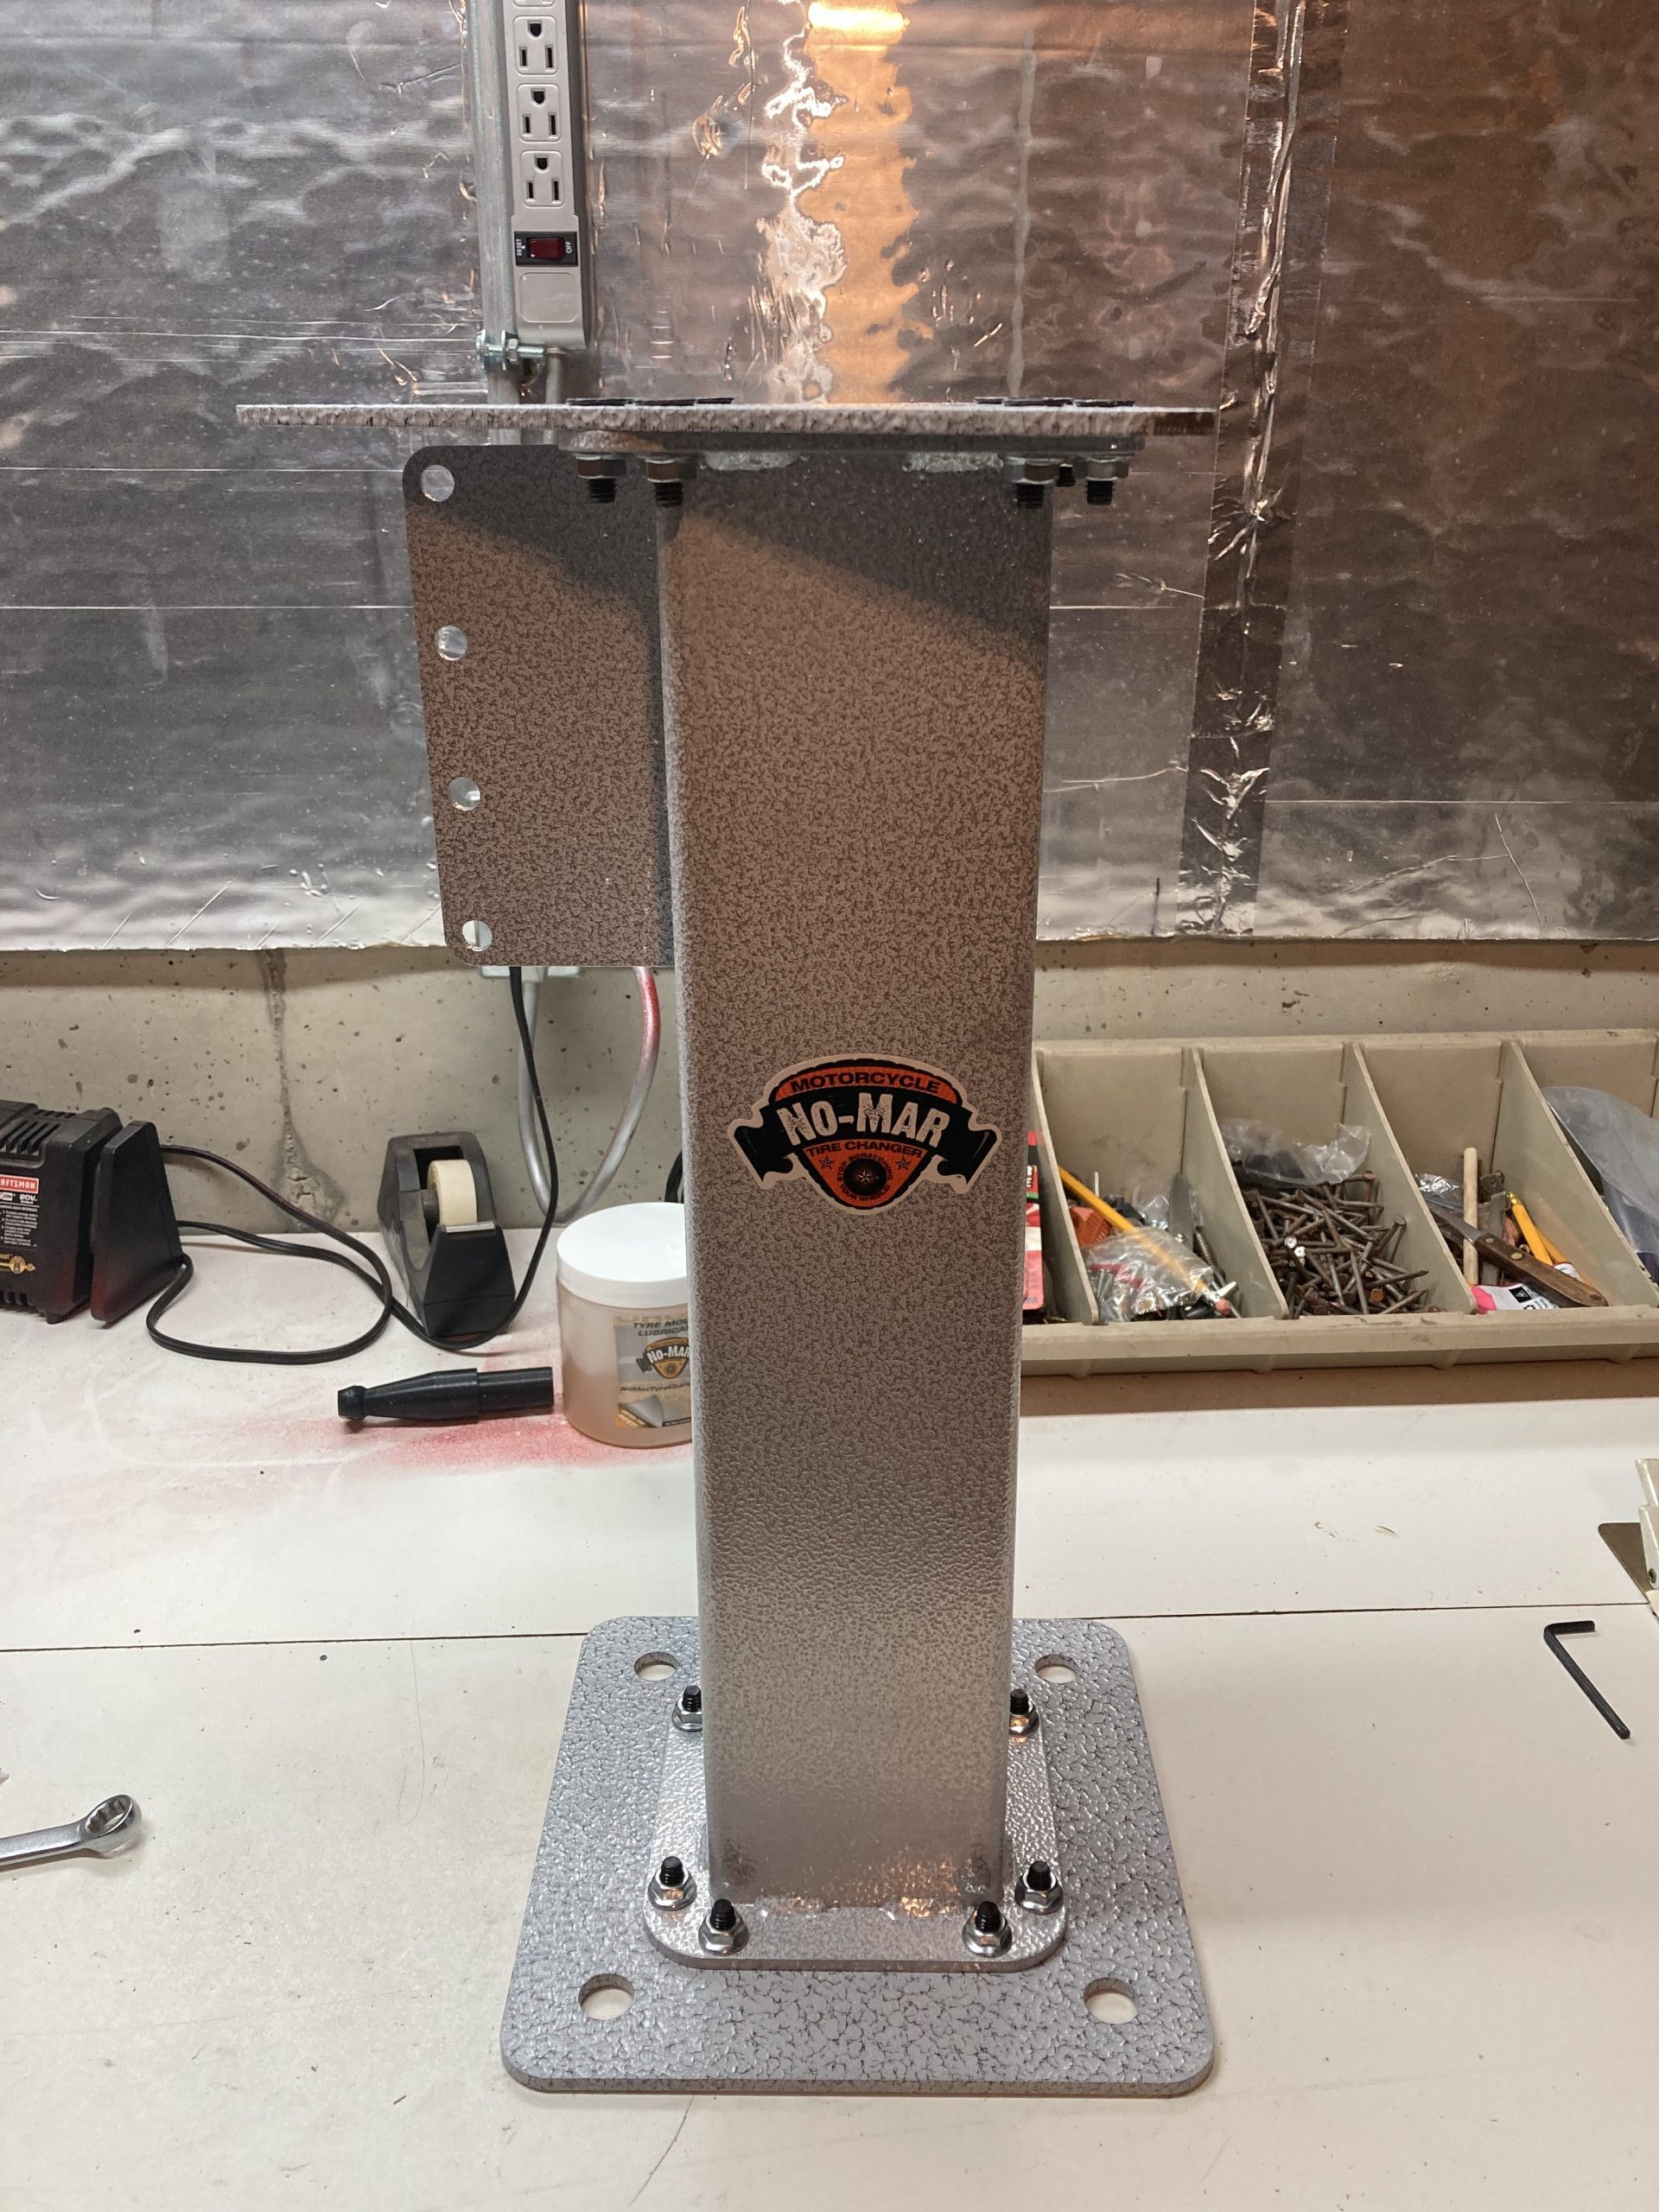
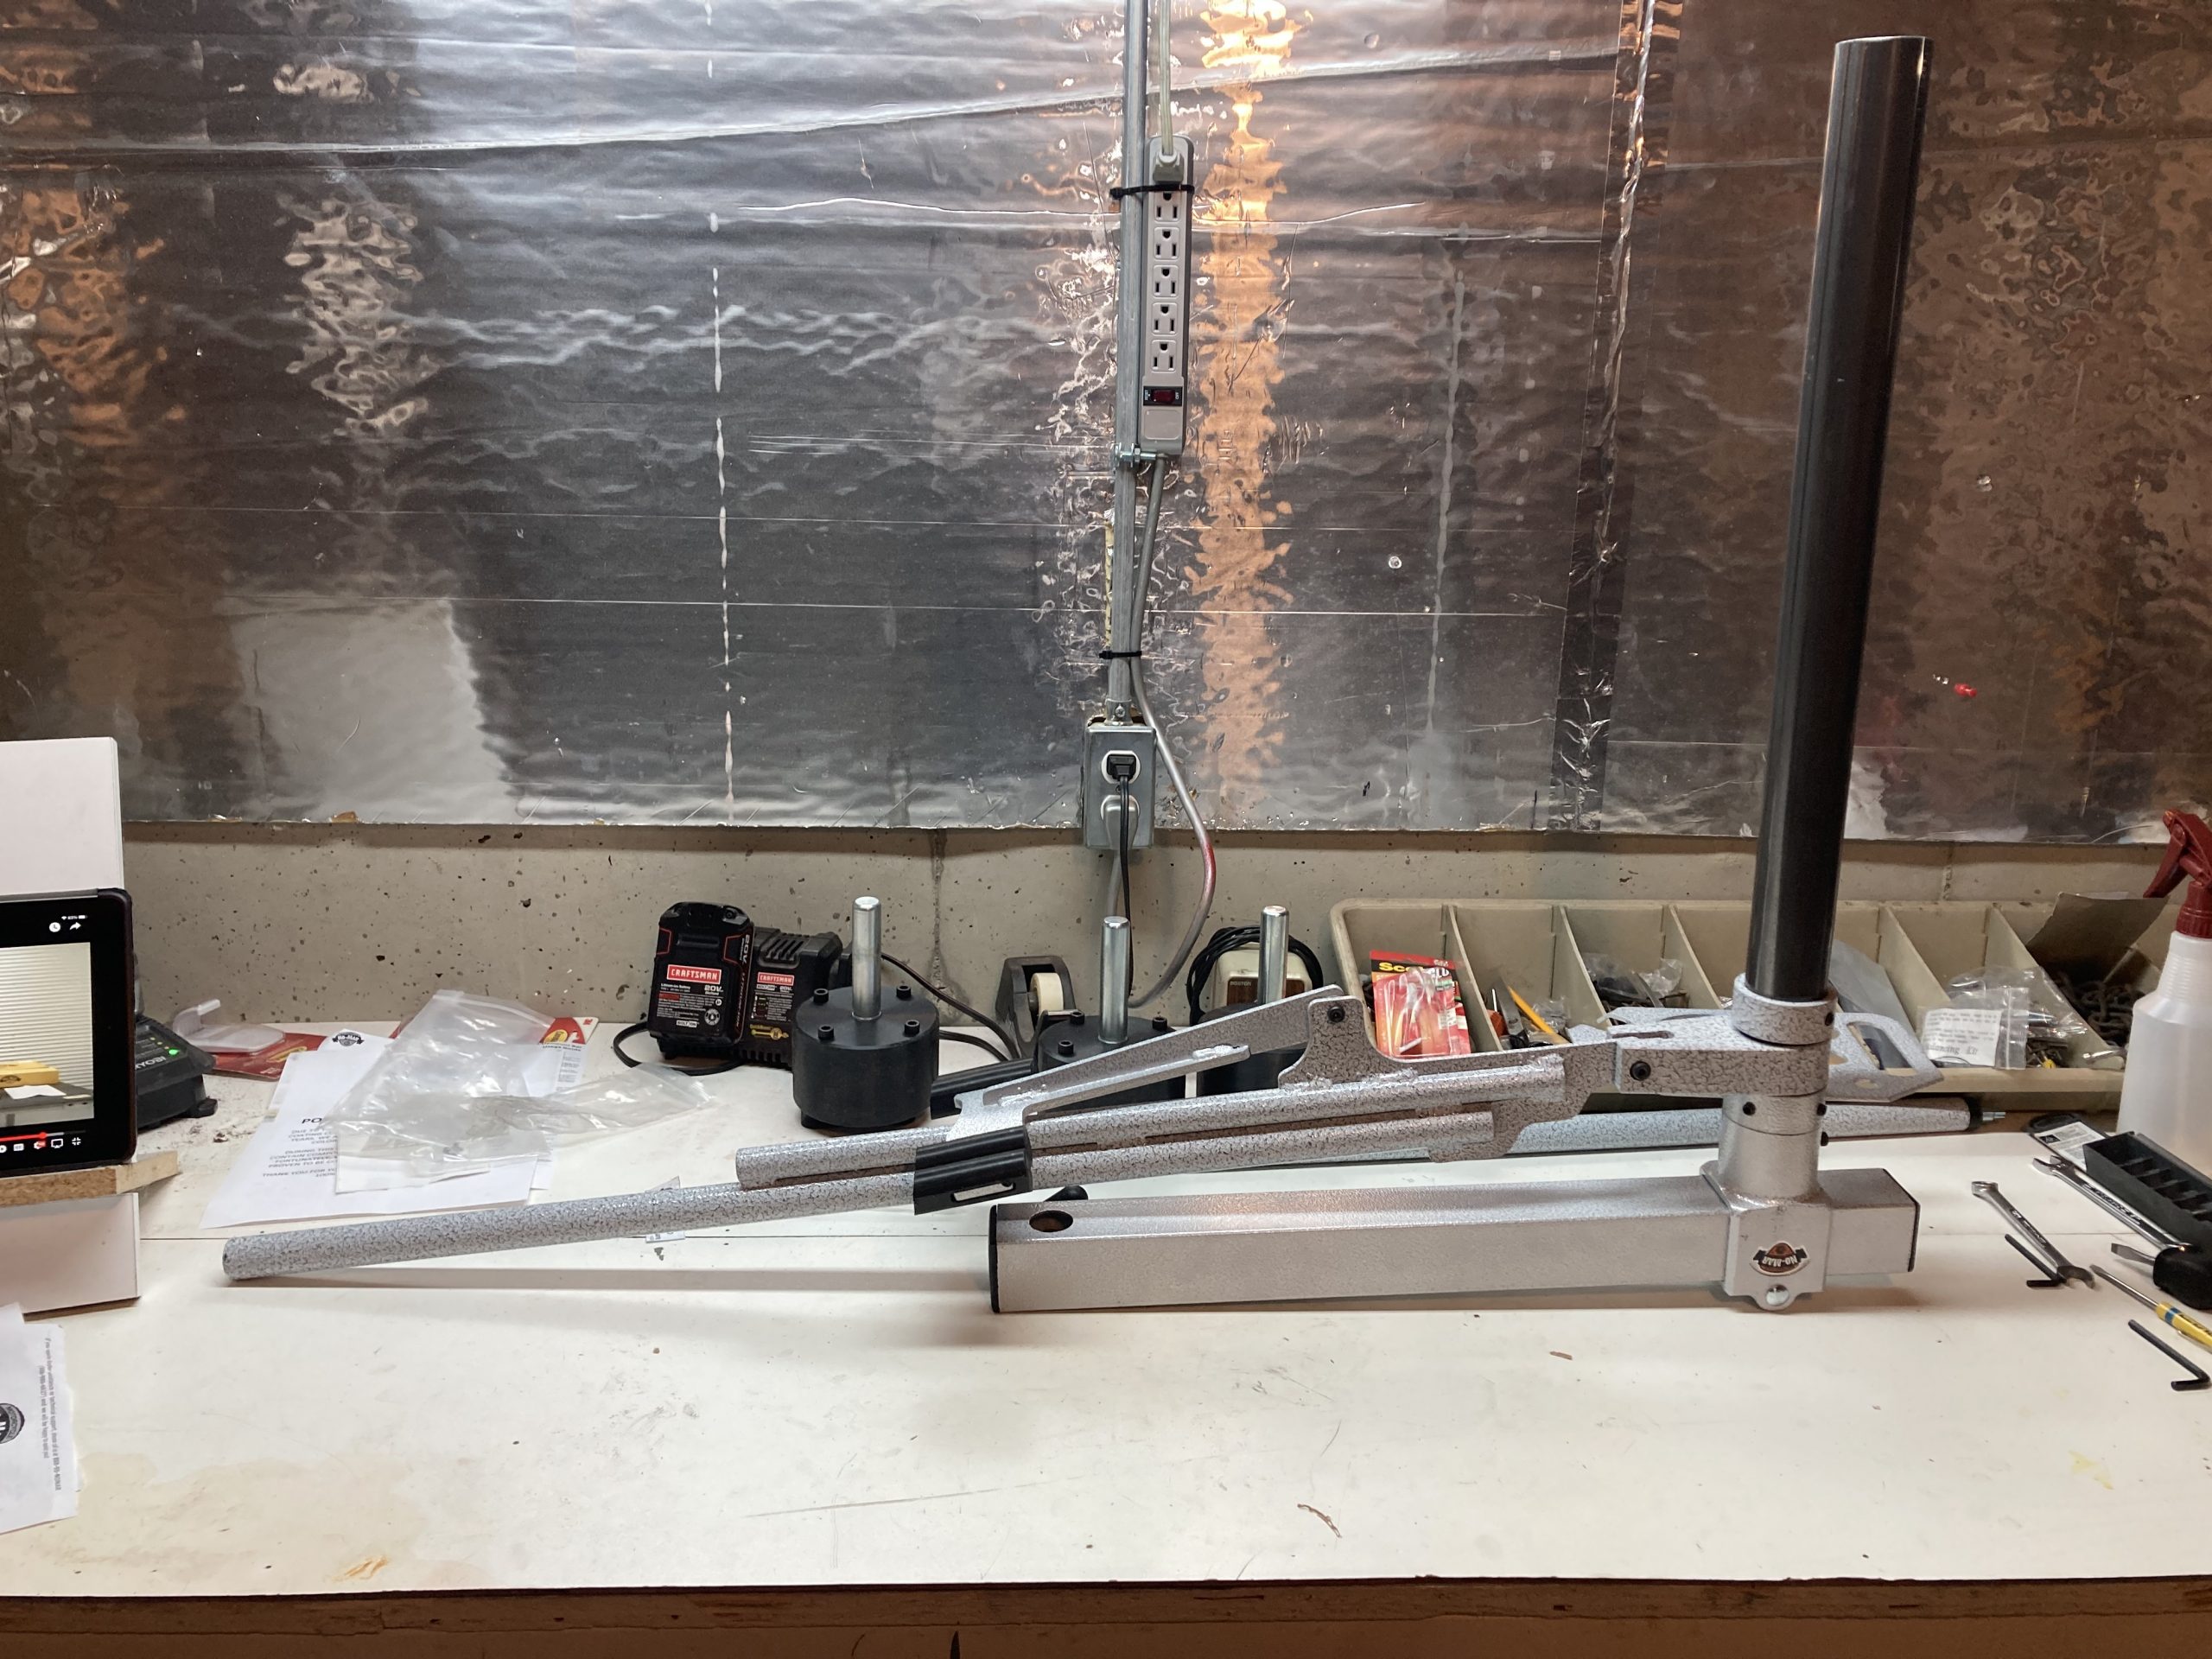
I started by assembling the main stand on my workbench.
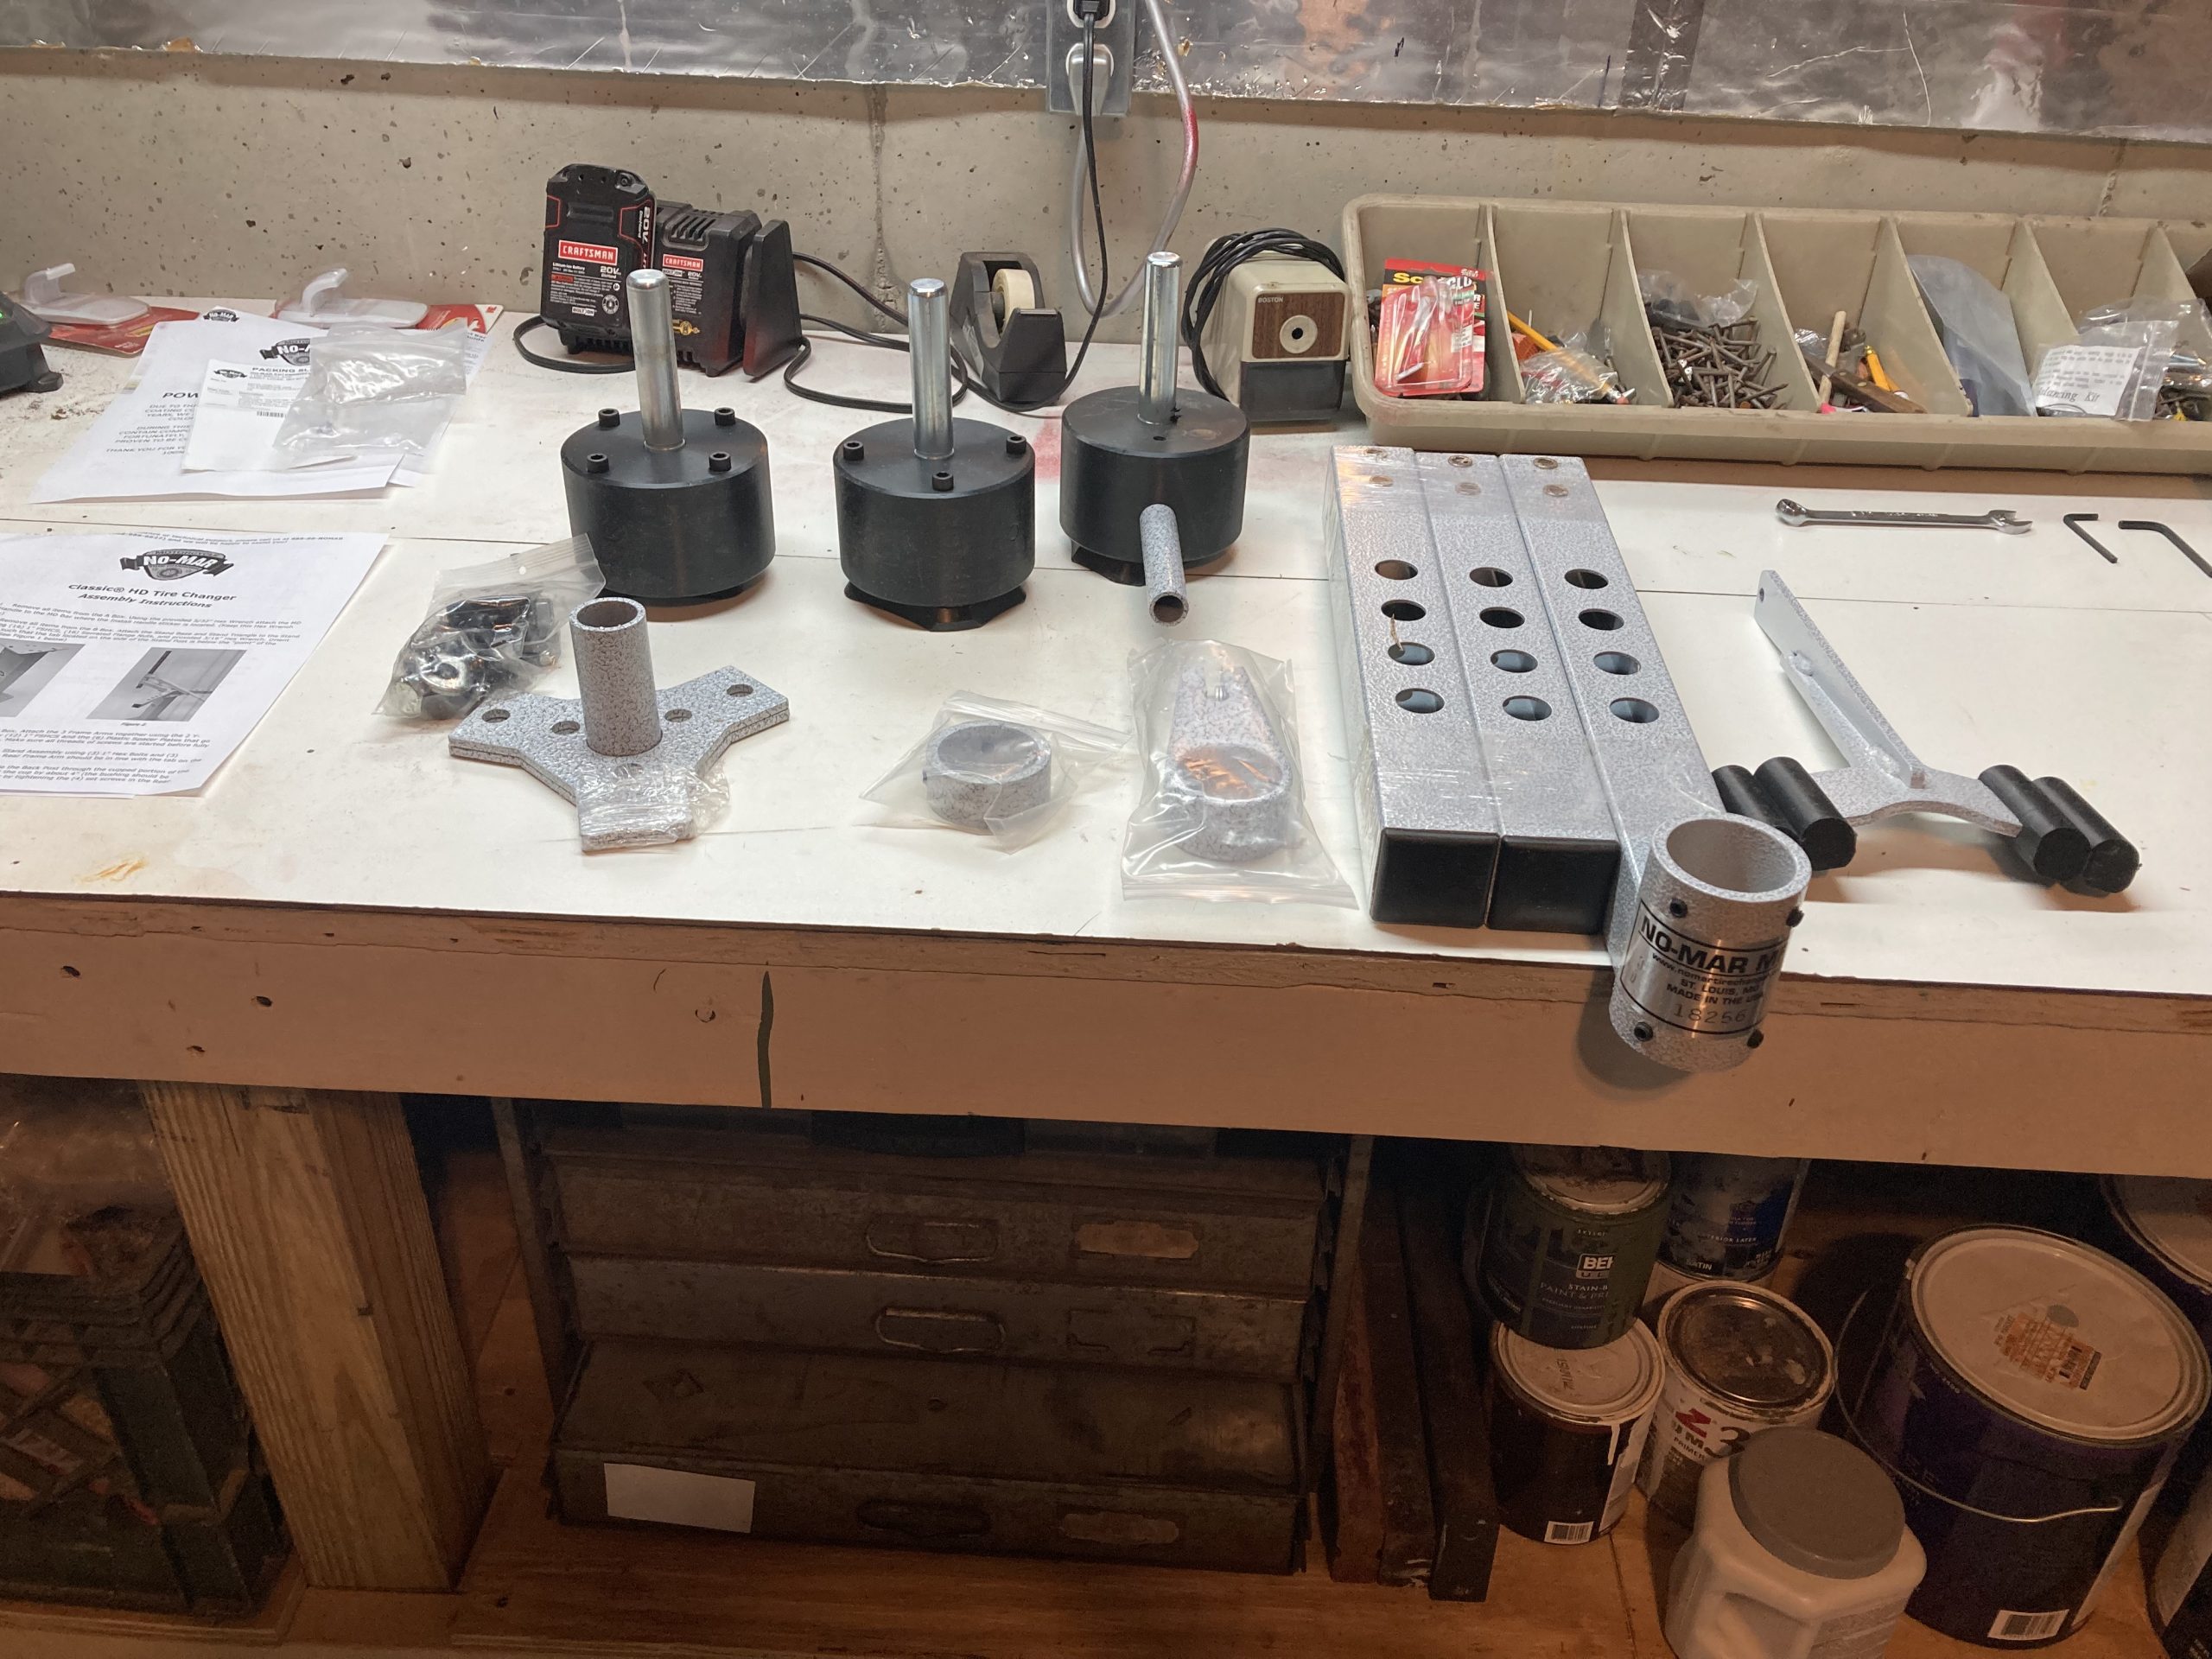
After that, I laid the majority of the rest of the parts out and took them out of their protective packaging.
Following that I assembled the arms that mount on the stand:
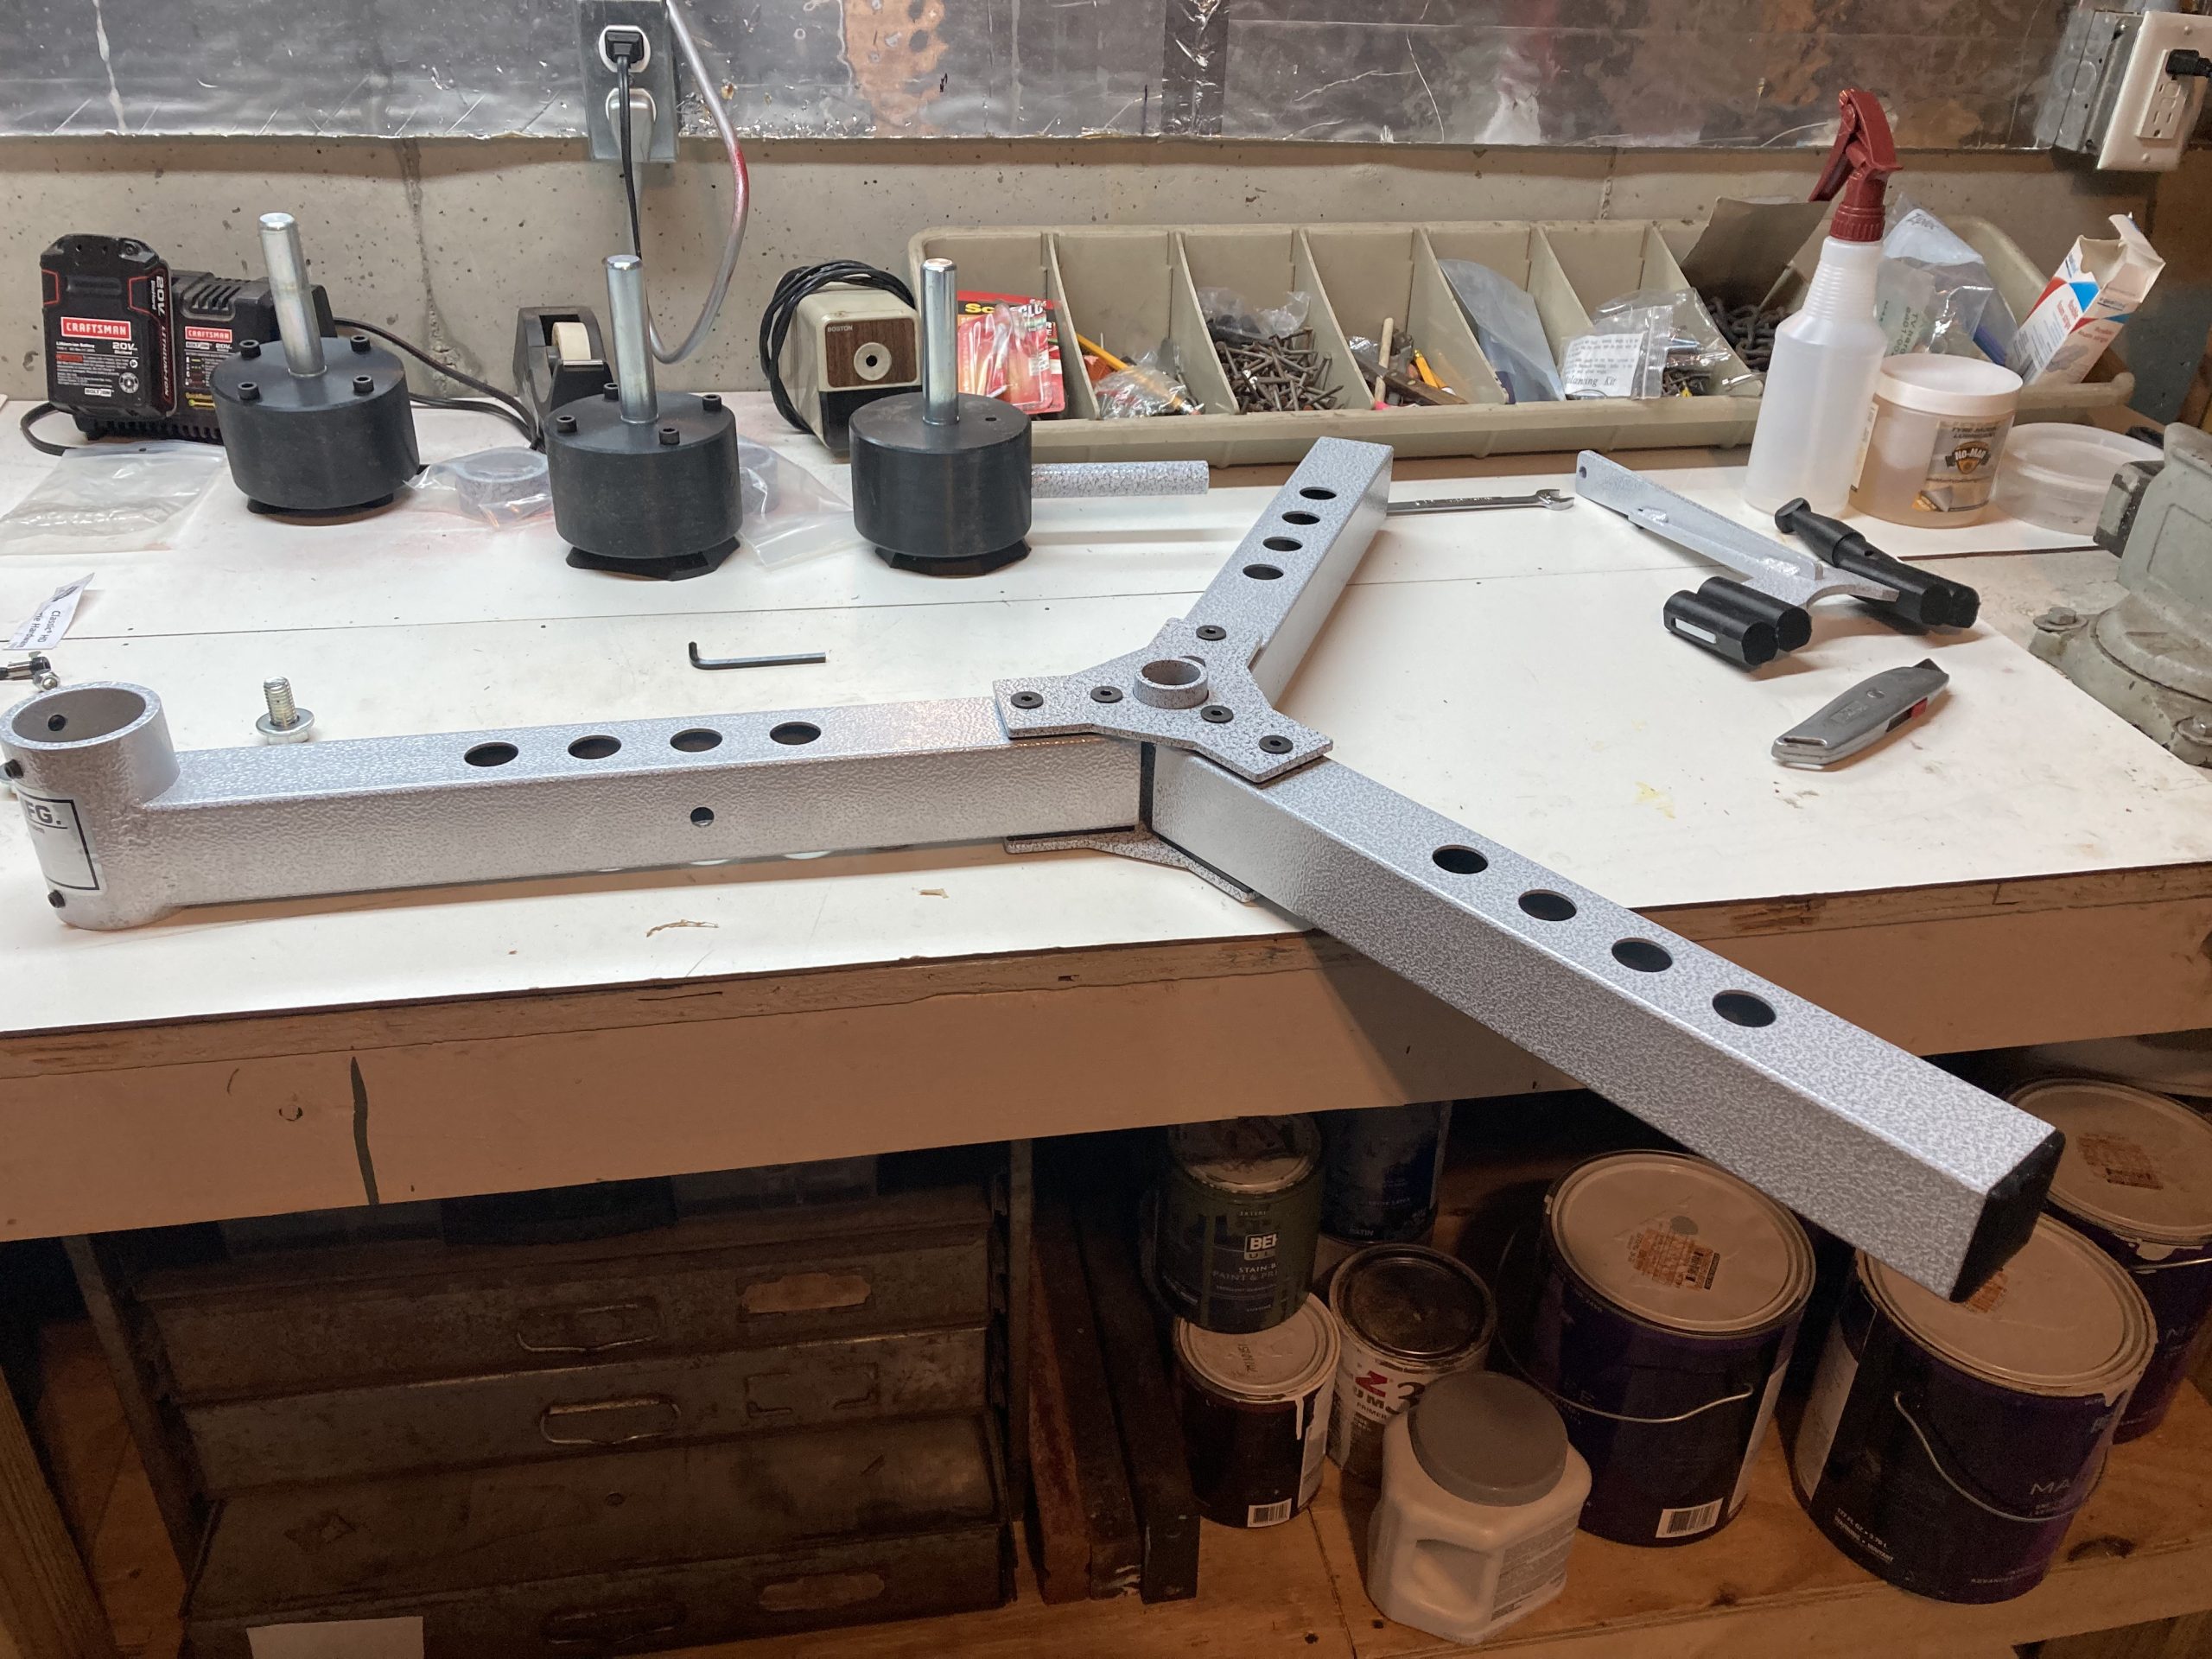
A note here: the plates that the 3 arms are mounted to are not marked for which one goes on the top, and which one goes on the bottom. It would be nice if things were a little better marked in such a fashion.
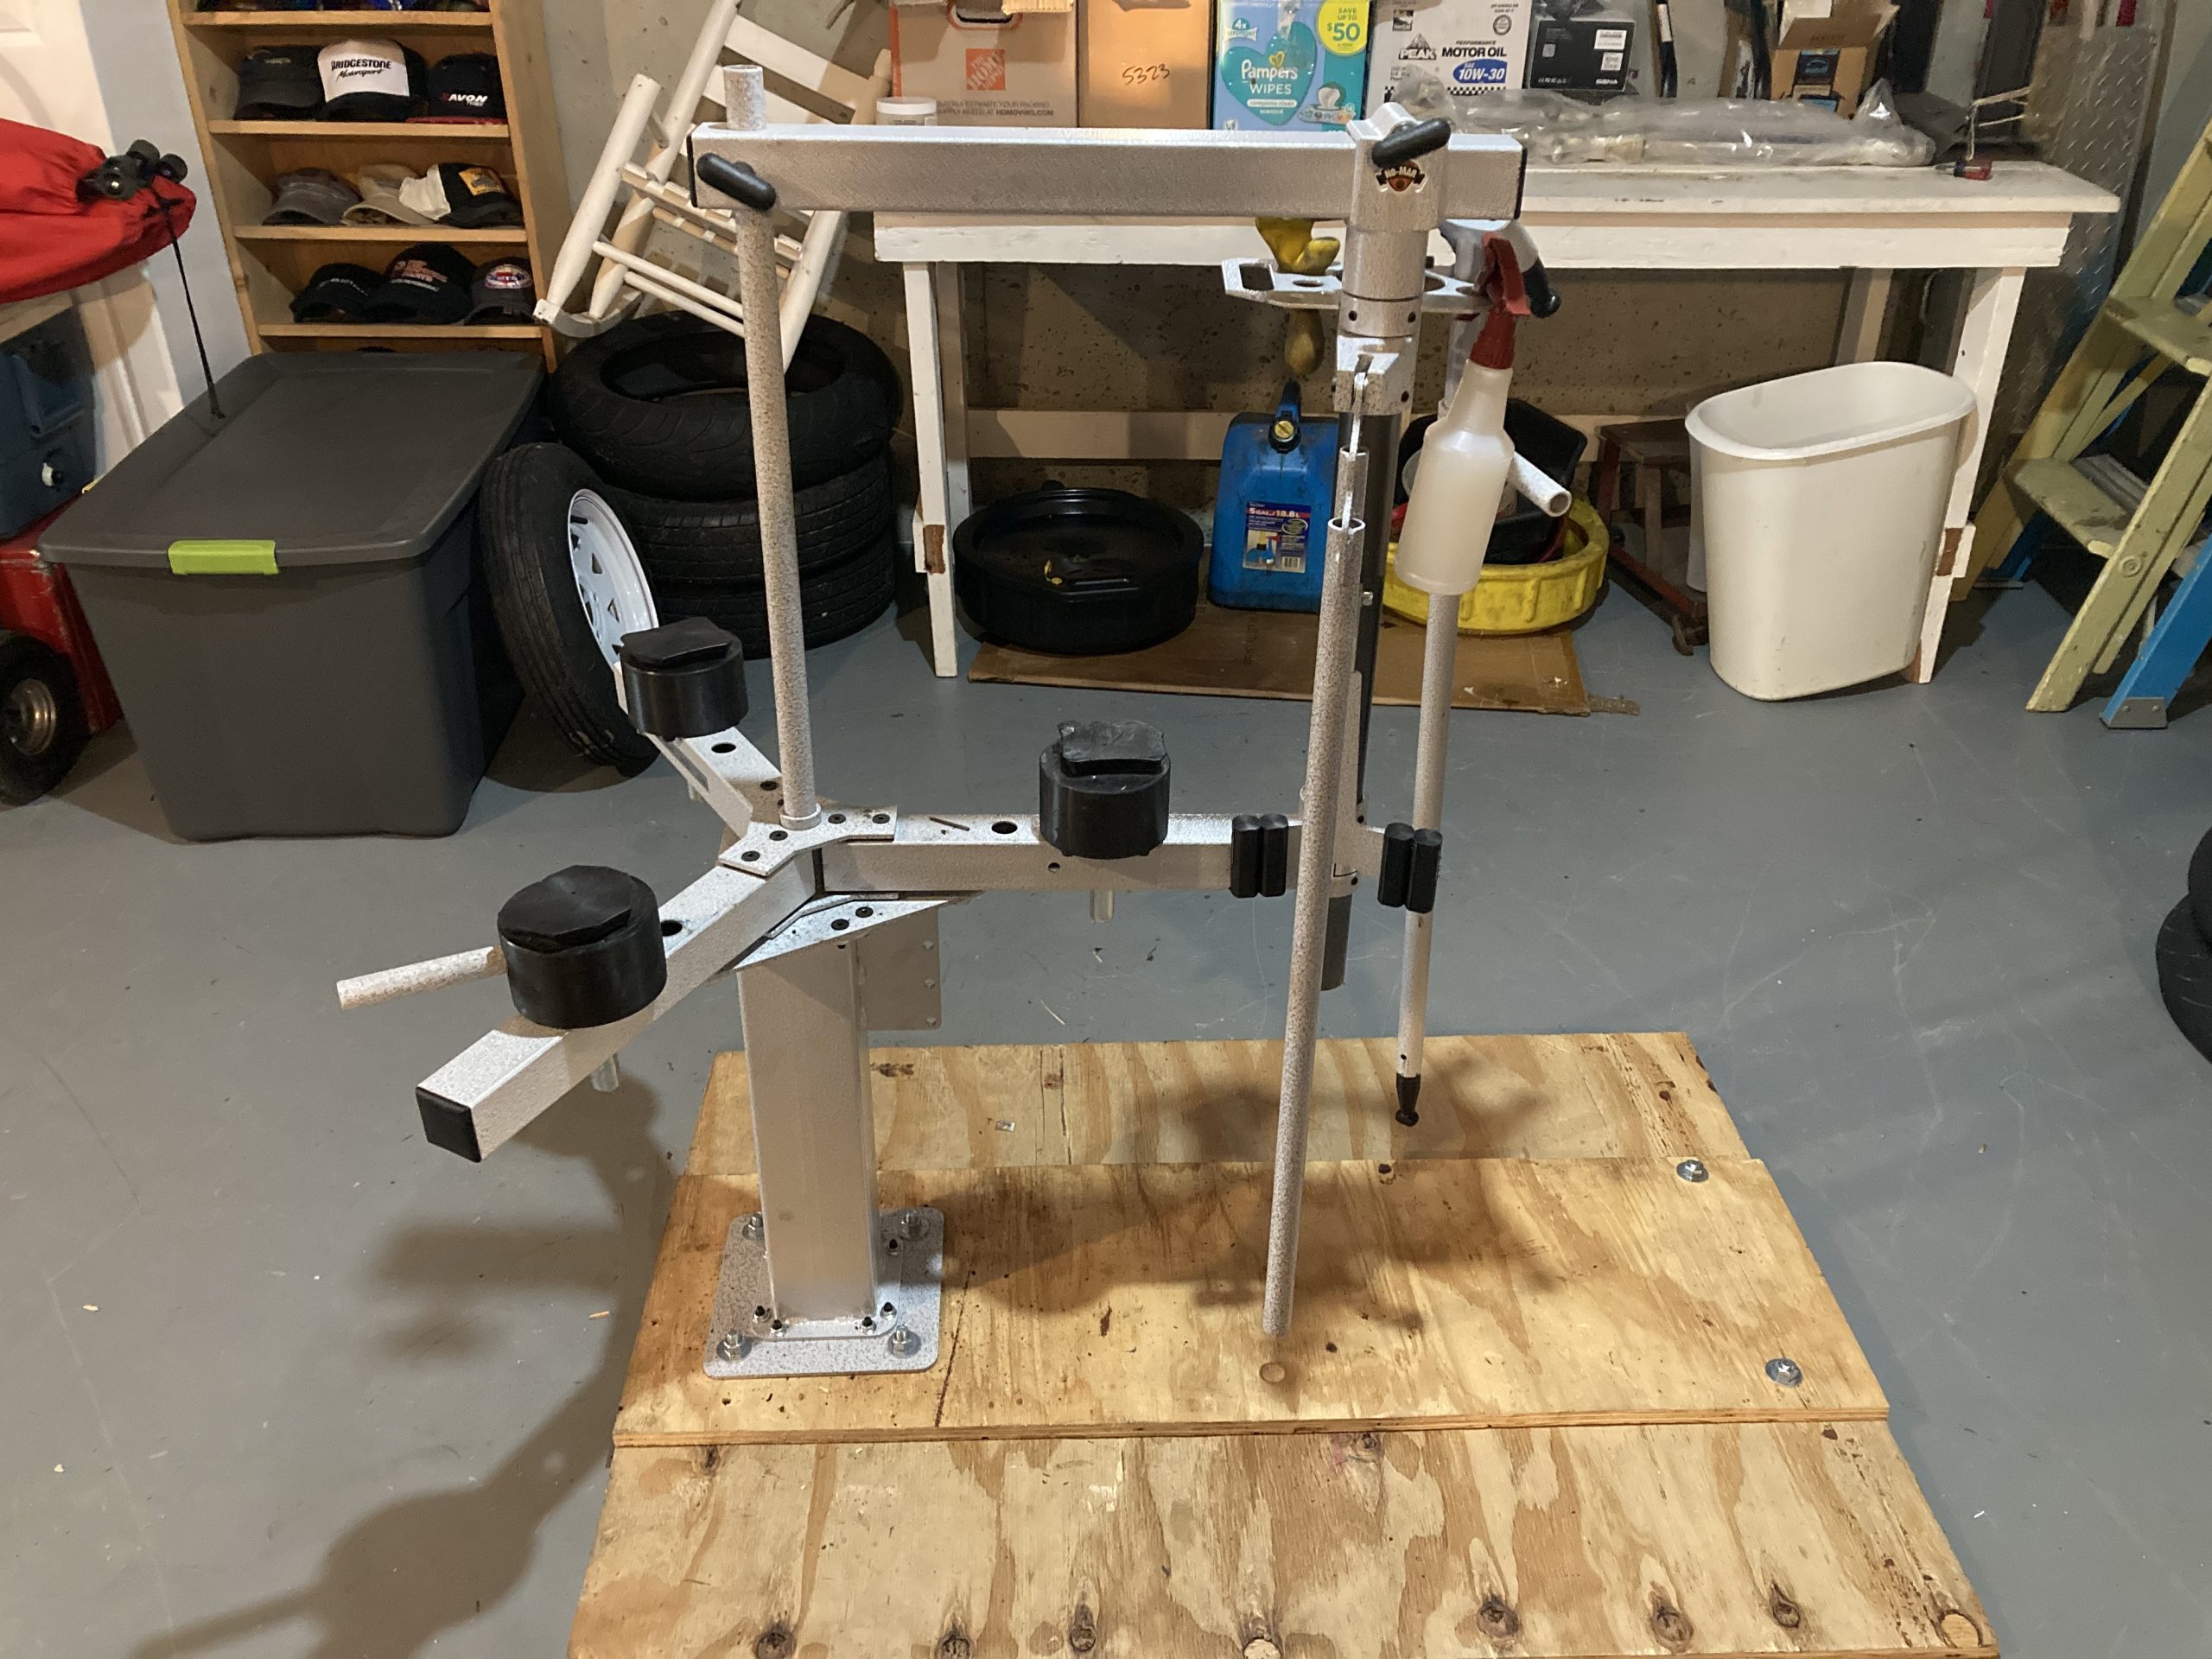
The bead breaker, tool holder, and tire arm are then assembled and mounted to the stand.
Another note here: These pieces are heavy and if your base is not secured to something, it will fall over when these are added. It is possible to mount the stand in the floor or on a big piece of plywood. But the bolts and fasteners are not included in the kit. I happened to have some fairly good-sized pieces of plywood laying around but had to take a break and go buy $10 worth of bolts, washers and nuts at the hardware store. No big deal as the store is only 5 minutes from my house, but something I probably should have planned for. This is how it looks after final assembly:
It took me about 2 hours to assemble and mount the unit. That includes running to the store for nuts and bolts I needed to mount it on the plywood and drilling the holes in the plywood for them. Not too bad and I feel that I could easily lower that time by a bunch if I ever put another one together. The video is very helpful.
You’re probably asking me at this point, how do you use it? and how does it work?
Well, the how to use it question is answered by watching another video that the folks at NoMar have put together. Please note that when watching it they have a new Michelin tire on their wheel, that it has never been completely seated on the wheel, and that it is probably nice and warm and not hard from sitting in a cold warehouse. I have a suggestion for you in regard to this, If you can, let the tires you are taking off and the ones that you are putting on sit out in the sun and warm up before changing them. That makes the rubber much more flexible and makes it easier to dismount the old ones and mount the new ones. Here’s a video showing you the process:
So, I just changed the rear tire (a 160/60/17) on my 2019 Versy 650 today and it was pretty easy. Now, it was only in the 40’s outside this morning when I did it, so I couldn’t follow my advice above and let the tires sit in the sun. However, I have had the new tire sitting in my heated basement, so it wasn’t stone cold and hard. Breaking the beads was very straight forward. Took a little effort and would be a little easier with 2 people, but all in all it wasn’t hard at all and only took about 5 minutes to do both beads. Taking the old tire off was very simple and easy. The hardest part was getting the clamps set for my wheel, so that I could use the dismount bar to take it off. A supply of tire lube is included in the kit, but I didn’t use it. I have found (over my long professional career I bet that I changed 10,000+ tires) that Dawn dishwashing fluid is probably the best tire lube you will ever find. Liberally apply it to the bead area of the tire and to the end of the tire tool with your fingers and tires will slide right off and on. I had to watch the video to see their technique for mounting the new tire, and once I followed their process, the new tire slide right on. The yellow thingy is key! Putting it in the right position is very important too. I had my old tire off, the new tire on the wheel, and it back on my bike in less than an hour. It actually took me longer to put the wheel back on the bike than anything else. Part of that is because I use changing tires as an opportunity to clean areas of the bike I usually miss when cleaning it normally. I also use this time as an opportunity to clean and adjust my chain. Got it done in plenty of time to get a 120 mile ride this afternoon. A successful day for sure!